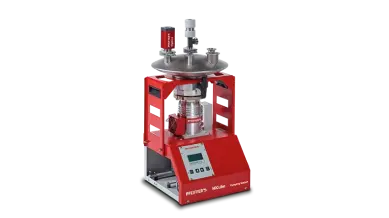
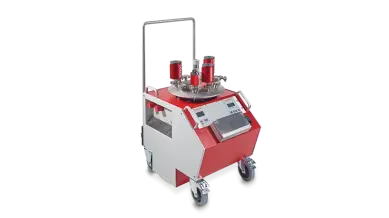
- Up to three reference transmitters for medium accuracy
- Either with 6x DN 40 ISO-KF or 2x DN 40 ISO-KF and 3x DN 16 ISO-KF and 2x DN 25 ISO-KF
Calibration Systems
Reliable measuring devices through professional calibration

Regular calibration of vacuum meters is essential for quality assurance to be carried out in accordance with standards. Have your vacuum gauges calibrated or checked in-house, depending on your needs.
For customers who use several measuring gauges and would like to carry out the calibration themselves, we offer proven, standardized calibration systems for total pressure measuring devices.
Your benefits at a glance:
- For static and dynamic calibration
- Calibration range 1,013 – 1 · 10-4 hPa (mbar)
- Easy handling and high flexibility
- Recipient according to ISO 3567 standard
- DAkkS certified reference transmitters
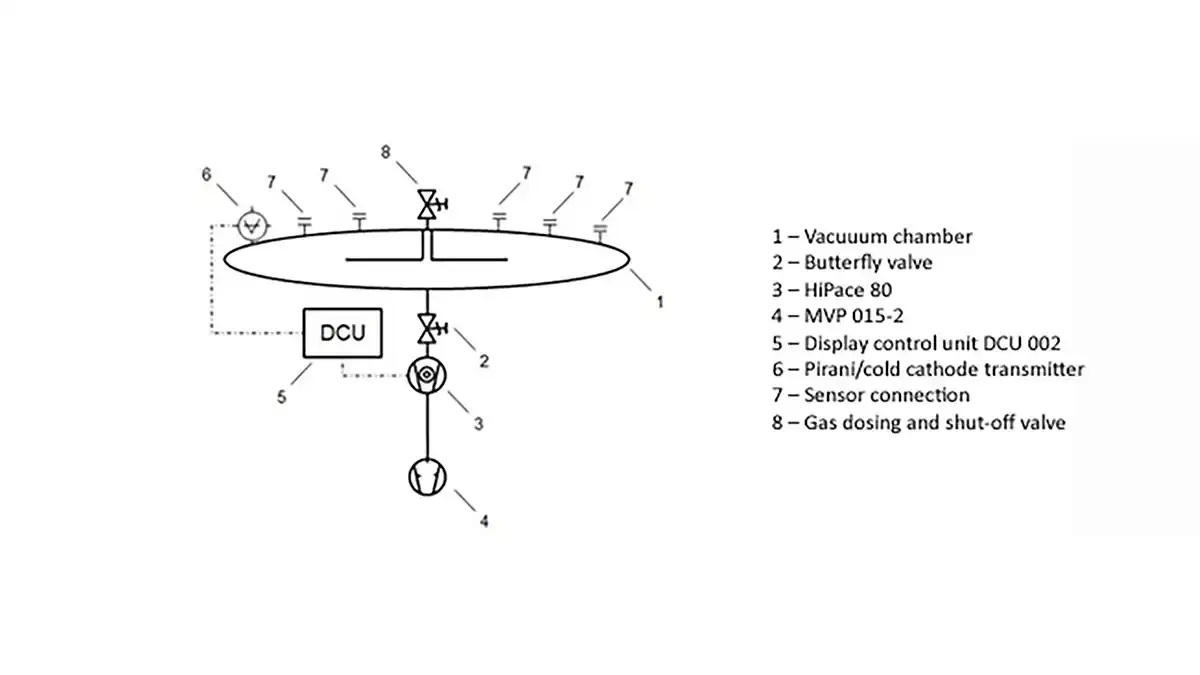
Calibration system Basic
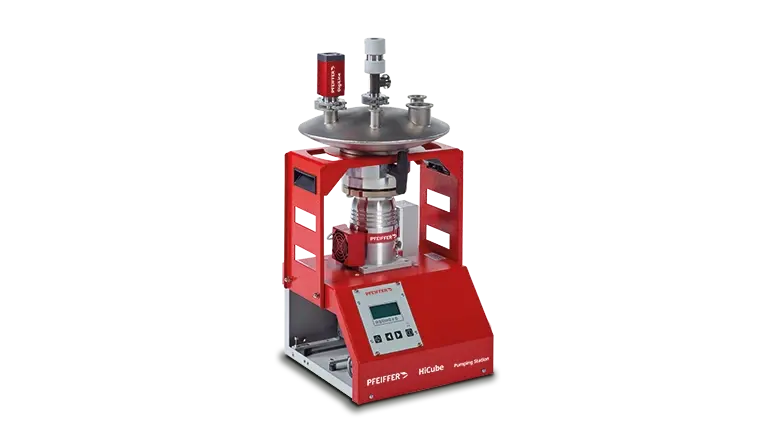
Technical details
During calibration with three reference gauges, the following calibrating accuracy is obtained:
- 0.2% accuracy at 1,013 hPa (mbar)
- 0.8% accuracy at 2 hPa (mbar)
- 0.2% accuracy at 0.1 hPa (mbar)
- 10% accuracy at 10-4 hPa (mbar)
Calibration with three reference gauges obtains an accuracy of 0.2 – 0.8% in the pressure range from atmospheric pressure (1,013 hPa (mbar)) to 0.1 hPa (mbar).
-
-
Accuracy profile for the calibrated gauge with 3 reference gauges
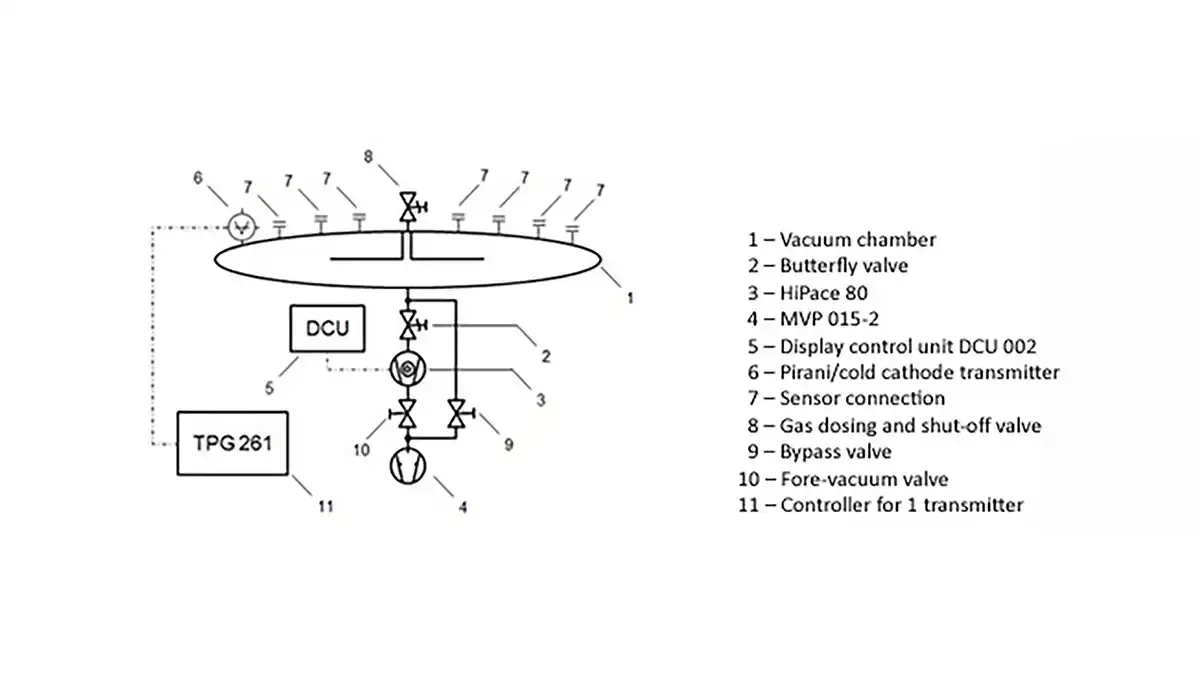
Calibration system Pro
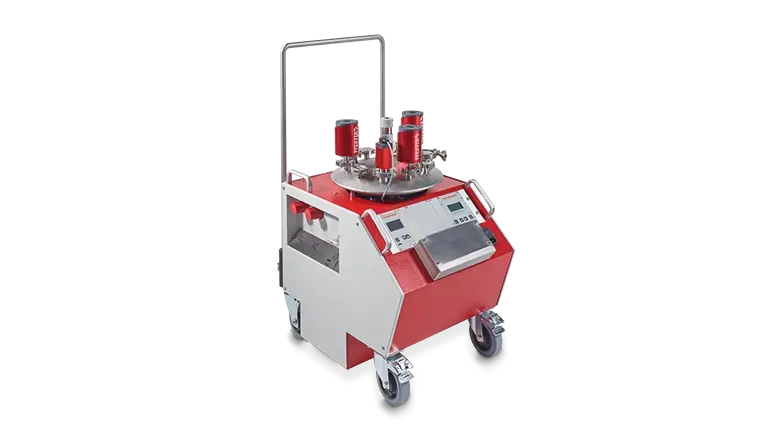
Technical details
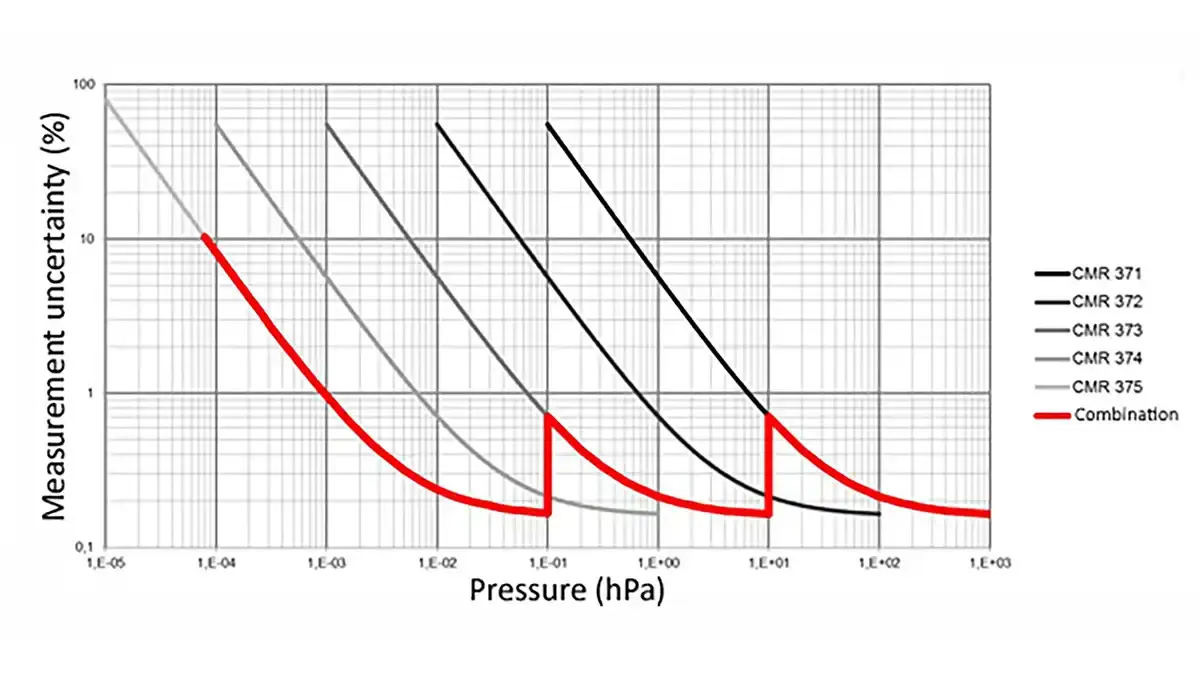
During calibration with five reference gauges, the following calibrating accuracy is obtained:
- 0.2% accuracy between 1,013 – 0.1 hPa (mbar)
- 1.0% accuracy at 10-3 hPa (mbar)
- 10% accuracy at 10-4 hPa (mbar)
Calibration with five reference gauges obtains an accuracy of 0.2% in a wide pressure range from atmospheric pressure (1,013 hPa (mbar)) to 0.1 hPa (mbar). It allows precise vacuum measurement over a wide range from 1,013 to 10-2 hPa (mbar).
-
-
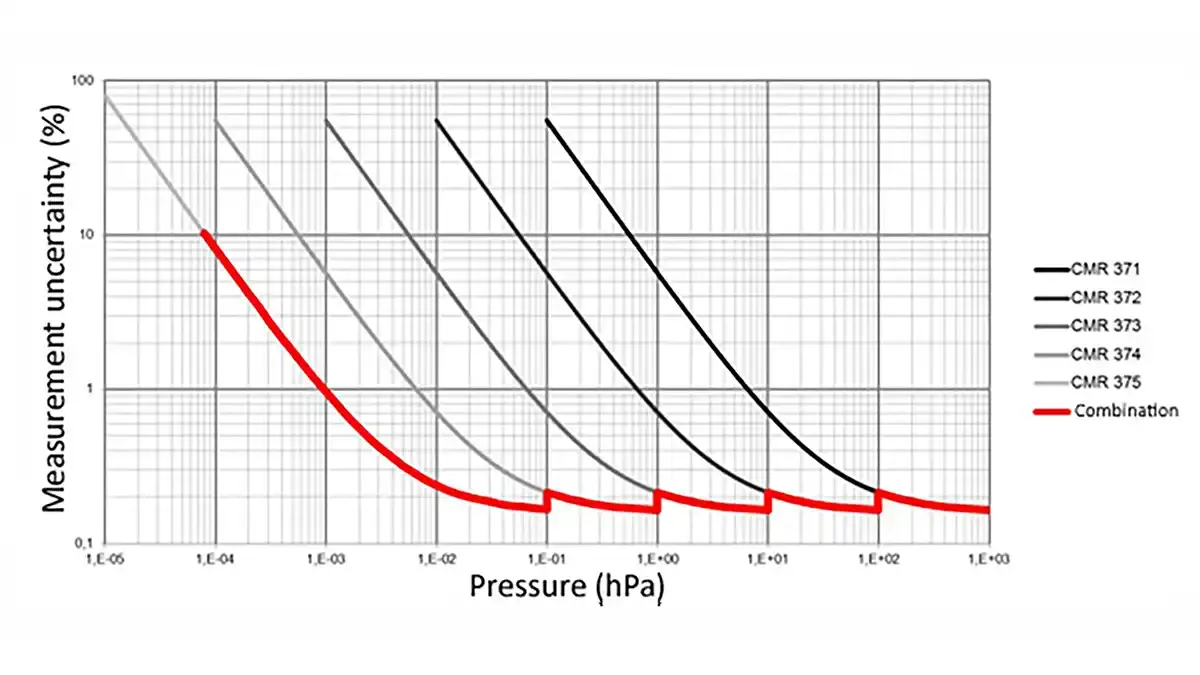
Accuracy profile for the calibrated gauge with 5 reference gauges
FAQ
What calibration methods are there?
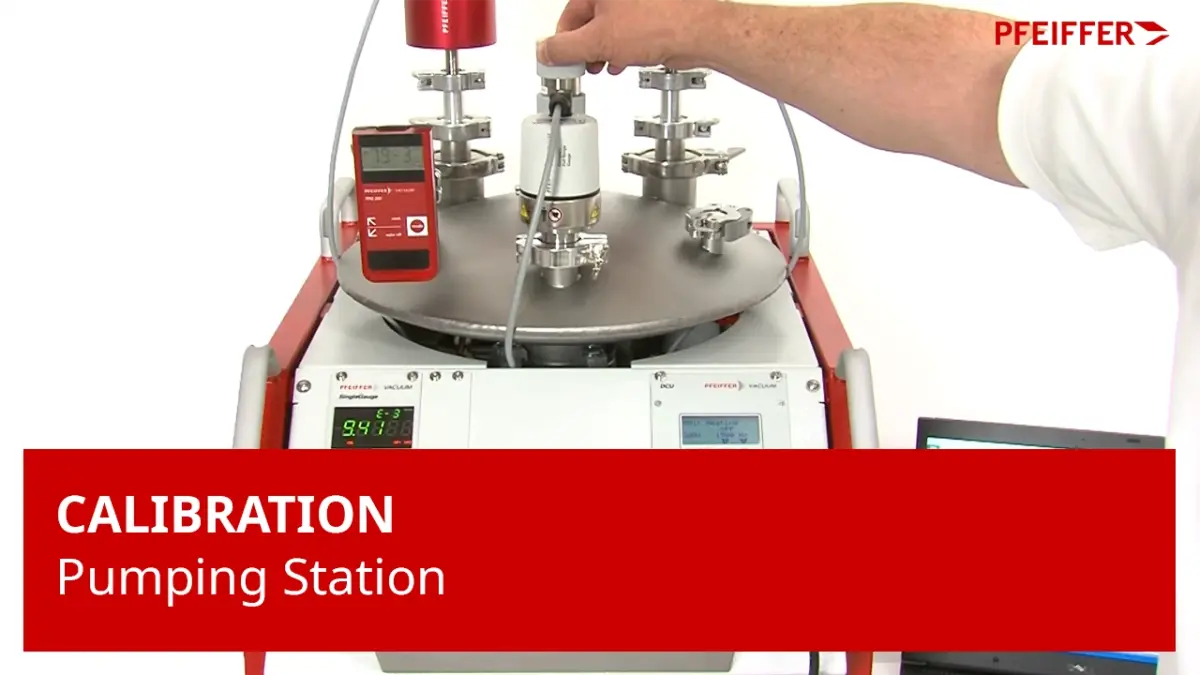
There are two basic calibration methods: static and dynamic calibration. Calibration involves comparing the measured values of the transmitter to be calibrated with those of a reference transmitter, according to ISO 3567. The transmitters to be calibrated, along with the reference transmitters, are connected to a standardized vacuum chamber (ISO/TS 3567, form b) and exposed to the same vacuum conditions.
With the calibration systems offered by Pfeiffer Vacuum+Fab Solutions, vacuum gauges can be calibrated both statically in a measuring range > 0.1 hPa (mbar) and dynamically in a measuring range < 0.1 hPa (mbar).
Why is calibration important?
In critical processes, accurate vacuum measurement is essential for maintaining process stability, ensuring quality, and effective monitoring. For example, in the pharmaceutical industry, where the well-being of patients is always at stake, precise vacuum measurement is crucial to ensure high product quality, especially when freeze drying expensive medications. Therefore, vacuum transmitters must be calibrated regularly. The same applies to the final vacuum measurement on vacuum pumps and systems in service, in accordance with factory or international standards.
How is calibration carried out?
In which applications are calibration systems used?
- Freeze drying in the pharmaceutical and food industries
- Coating systems for optics, ophthalmics, diffusion barrier layers for PET bottles and packaging films, wear protection layers on tools, decorative layers, and others in which multiple measuring devices are used.
- Final vacuum measurement in pump manufacturing and service workshops
- Process monitoring and process control to determine the end of the process, ensuring consistent quality and minimizing the rejection rate.
How many measuring points are required according to ISO 3567 and how are the results documented?
According to ISO 3567, at least three measuring points per decade must be determined. The calibration results must be documented in a calibration certificate in accordance with DKD 6-2 of the German Calibration Service and kept as proof. The user decides whether the deviations from the reference values are permissible.
The deviations in the table below are sufficiently precise.
Reference standard p [hPa] | Calibrated transmitter p [hPa] |
|---|---|
1.003 · 10-4 | 1.004 · 10-4 |
2.001 · 10-4 | 2.002 · 10-4 |
4.004 · 10-4 | 4.006 · 10-4 |
7.003 · 10-4 | 7.005 · 10-4 |
1.001 · 10-3 | 1.005 · 10-3 |
